- Get link
- X
- Other Apps
We have lots of citrus trees in the garden, but until they produce fruits, they will be just that - citrus trees - because I have no clue what type they are, since most of my plant tags never held up. I've tried many different plant tags from chalk signs to plastic and the infamous popsicle stick. All failed the test of time, but when I started selling plants, I had to come up with some way to identify the plants and trees to make it easier for the customers. I wanted something that would last at least 6 months, could stand up against the weather, and I began looking for plastic plant tags. I had a hard time finding affordable, recycled plastic plant tags, so I decided to create my own permanent plant tags. (< see video)

We've also begun a complete revamp of our front garden, which means more plants, and we've got lots of plants and trees growing for our future garden at The Land. For these plants, I wanted permanent plant labels that could contain both the common name and the Latin name, and I found these neat aluminum plant labels and copper plant tags on Amazon. They were the perfect solution, but since I needed a lot, they were simply out of my budget. What I really like about these plant tags is the fact that they are in one piece, which means less chance of breaking, as some of the other metal stake plant tags might.
I came up with two different solutions, semi-permanent but recycled, free plant tags for the plants we sell at our plant sales, and a permanent plant label solution for the plants in our garden and the trees for The Land.

How To Make Recycled Plastic Plant Tags
Many of our plant containers are made out of old milk jugs, and instead of discarding the tops, we've started making recycled plastic plant tags. These plant labels will take some rain and fading, but the writing will not last forever. They work well for the purpose of identifying individual plants for our customers, and I love the fact that they are made out of recycled milk jugs, recycled orange juice and lemonade containers.

What You Need:
- Used milk jugs or orange juice jugs made of food-grade, non-clear plastic materials.
- Scissors
- A permanent marker

How To Make Aluminum Plant Tags
For our plants and trees in the garden, we wanted to create a product that was affordable, but permanent and pleasing to the eye. We bought a roll of aluminum flashing, a pair of metal cutters, and then we purchased a metal-stamping set.
The out-of-pocket cost was just about $50, but I can use the metal stamping set for other engraving projects, and there is plenty of aluminum to make plant tags for all of our perennial plants and fruit trees.

What You Need:
- A roll of aluminum flashing (found in the roofing aisle for about $8) or aluminum cans
- A pair of metal-cutting scissors (Buy in store or on Amazon)
- A metal-stamping set (1/4 )
- A hammer or mallet
- A hard surface to work on
- A homemade jig to stamp your words straight

I considered using the inside of aluminum cans to make my plant signs, but in the end I decided that it would be less time consuming and hazardous to use the aluminum flashing instead. But if you want to be more environmentally friendly, using aluminum cans is definitely the way to go.
Use the metal-cutting scissors to cut a 4 inch piece of your aluminum flashing or cut a piece of your aluminum can. Then bend it in half, and cut a line across, so that you get two pieces out of this 4 inch piece. Then create your sign in whatever shape you want. I've tried to come up with a shape that has rounded corners, but which minimize waste and maximize the writing area. It's important that you have a hard surface to work on, which will not get damaged by the hammering or move when you hit the stamp. We first tried the 1/8 metal stamping letters, but they were simply too small, and you had to squint your eyes to read the plant tag. We exchanged this set for a 1/4 metal stamping set, and this works great. It is small enough for us to get both the common and botanical plant names on our sign, but the letters are still big and clear enough to read even without having to bend down to read it.
We also created a very simple jig in order to keep our stamped letters level. It is simply two pieces of wood put together by a screw, so that it can move, and it serves as a guide for our stamping. We also added a clamp at the end, so that the metal piece would not move.
We can highly recommend our metal stamping set, it actually surpassed our expectations and after making 20+ plant tags it is still working great.
How To Make Copper Plant Tags
If you like the look of copper, you can use the stamping set on copper as well. Copper flashing is a lot pricier than aluminum flashing, and over time copper will get a patina, which some will love and some won't. Our store did not have the copper in stock, so I decided to go with the aluminum even though I love the look of the copper plant tags.
- A roll of copper flashing (found in the roofing aisle or ordered online)
- A pair of metal-cutting scissors
- A metal-stamping set
- A hammer or mallet
- A hard surface to work on
- A homemade jig to stamp your words straight
You can find the aluminum and copper flashing at your local hardware store or places that sell roofing materials, or you can buy it online in places such as Amazon.
If you don't want to make your own metal plant tags, you can buy these metal plant tags and copper plant tags on Amazon. Out of the many plant tags available, these are our favorite because they are in one piece and have great reviews.

Disclaimer: This post contain affiliate links and we may receive a commission from purchases made.
Comments
Popular Posts

Troy-Bilt Wood Chipper - Super Tomahawk = Our No. 1 Tool For Better Composting
We could not have gotten as far with our sustainable land clearing and composting, if it had not been for our power horse, our Troy-Bilt Super Tomahawk wood chipper with its 8 HP Briggs & Stratton motor. We purchased this 31+ year-old wood chipper off Craigslist for $200 about a year and a half ago, and it is still going strong. Troy-Bilt Super Tomahawk Wood Chipper

Zone 9A/9B Gardening Calendar - North East Florida Planting Schedule
Gardening in Florida is a very different experience than gardening in the rest of the country, and growing fruits and vegetables in North East Florida is a very different experience than gardening down south. It has taken us about five years to adjust to the zone 9 planting schedule, and while there are many zone 9 garden guides out there, we felt that there was a need for a simple, user friendly zone 9A/9B planting calendar.

How To Remove Palmetto Palms
If you have ever tried to remove a palmetto palm by cutting it down, you will likely have realized that removing palmettos is tricky. So, when we got ourselves a piece of land with about half an acre of these wonderful palmetto palms, also known as saw palmettos or shrub palmettos, we knew that we had a challenge on our hand.

Where To Find Free Nursery Pots and Planters
Every gardener needs something for their plants to grow in. Whether it is directly into the soil in your garden, into a garden bed, nursery pots, ceramic pots, terracotta pots, or if you get more creative, you need something for your plants to grow in. That's why we're always looking for free nursery pots and cheap planters.
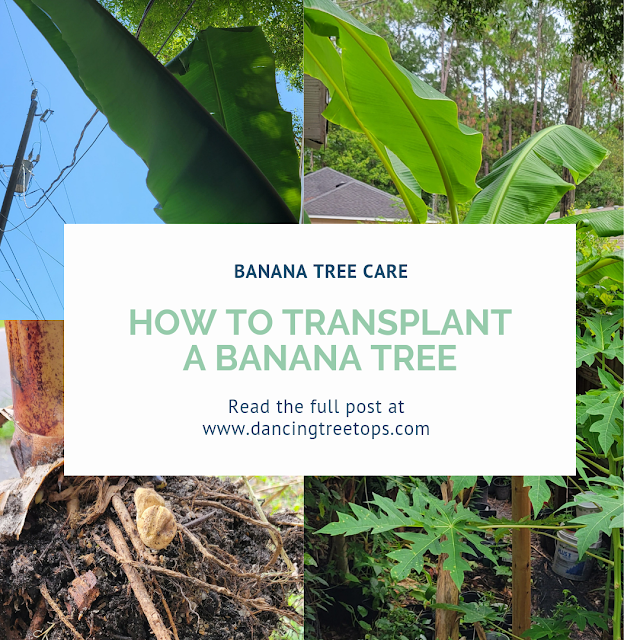
How to Transplant a Banana Tree
Wondering how to transplant a banana tree? I know, it's not a tree, so wondering how to move a banana plant? Bananas are pretty easy to move, and they're pretty hardy too. The best time to transplant a banana plant is in the rain season, but I've planted and re-planted banana plants all year round, just remember to water well if it doesn't rain. Last year I planted a small ice cream banana pup in front of our home, but I was negligent in my research and didn't realize just how big it would get. I prefer moving banana trees in the rain season, but the leaves were getting too close to our power line, so it had to be moved. The roots of banana trees aren't very deep, and they will quickly re-establish, if you give them some love and water. The root ball of a 1 year old Grand Nain banana We've been preparing an area at The Land for banana babies, since we now have six different banana varieties at the house and these are beginning to give us pups. Today was th...

Save Your Papaya Trees After Cold Damage
Papayas are susceptible to high winds and freezes, but do not let that prevent you from growing papayas in zone 9a or 9b. In our experience, papayas are pretty cold hardy, but they do not like temperatures below freezing, especially not a sustained time with freezing temperatures. Temperatures below 40 degrees F/4 degrees C will make the papayas begin to look sad, but it is not until the temperatures hit freezing, that the papaya trees will sustain damage enough to kill the papayas. Last winter we had two quick freezes here in St. Augustine (growing zone 9a), and while our tallest papayas looked sad after the first freezing night, it was not until the second freeze that they were defeated. How to Save Papayas After a Freeze: After a freeze wait and see for a week or two to determine where you need to cut your papayas. If another freeze is imminent before your wait or see period is over, make the cut low, cover and protect. Look for new growth or a firmer trunk. Cut the papaya trun...
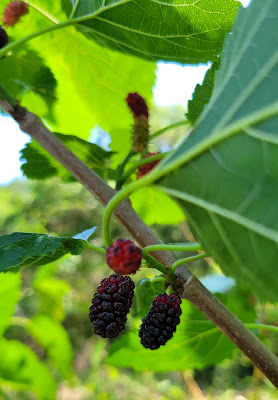
How to Grow Mulberry from Cuttings
Our favorite mulberry bush is in danger of eradication, so for the past year or so we have been growing mulberries from cuttings. Our children love eating fruit straight from the trees and bushes, and while we lose wild areas every day to construction and development in our community, we still have a few areas left untouched for now. Some mulberry trees are simply too tall for great mulberry picking, but this one mulberry bush is low and spread thick like a bush. Mulberries look similar to blackberries, but they are sweeter and juicier. They do not hold up well, which is why you will not find them in the stores, but we freeze any leftover mulberries to use in our weekly smoothies. Wild blackberries and wild mulberries We've taken cuttings three times from the mulberry bush. We waited until after fruiting last spring to take the first cutting, and the second time was about four months after fruiting. The third set of cuttings we took was in late winter, just as the mulberry bush had...
How To Use Fruit Peel Fertilizers
When it comes to growing success, I strongly believe in using homemade compost, and if you mix it with composted chicken manure, then you've got the good stuff. We do use these organic fertilizers at times, but if at all possible, we prefer to use fruit peel fertilizers, other natural fertilizers, and compost. Other than that, we feed our plants a lot of greens. Whenever I cut and prune if it's not turned into new plants, it is either fed directly to plants by simply placing it at the base of a plant, it is composted at the land in our big compost pile, or it is composted at home in our chicken compost pile. When it comes to fruit trees, I like to give them fruit peels as a natural fertilizer. A fruit peel fertilizer is an obvious way of giving back to a fruit tree the nutrients that we've removed. Apple trees get apple cores and peels, citrus trees get citrus peels, everything gets banana peels, and when it's bloom season I feed tomato plants and fruit trees with ban...
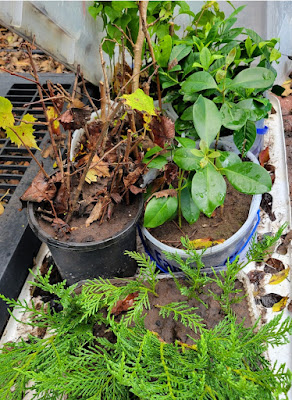
Plant Propagation with a Clear Plastic Bin - Making More Plants
I have an addiction to making more plants. It is simply impossible to stop, once you've learned the techniques of plant propagation - and yes we need to grow more plants, and so I have been propagating plants for years with the rooting powder and plastic bag method. Plant Propagation This year I decided to try a new method, hoping to improve on my plant cutting survival rate with the plastic tub method, but it was also an attempt to make more plants and to be able to just leave the plants alone outside. When you look at professional plant propagators, they usually have a greenhouse, and in this greenhouse a mist of water keeps the humidity high. This is essentially what happens in the clear plastic tubs, as long as they are completely closed. You can see the condensation on the top of the bin, and it is like a mini greenhouse. Clear plastic bins for plant propagation I looked for clear storage tubs or plastic bins at the thrift store. Unable to find some with clear lid...
I use discarded blinds. For plant give aways or sales plastic with "permanent" markers work fine. For my garden, I like aluminum blinds. I scratch in the name and bury it somewhere so the critters don't knock them out as essy.. Your letter stamps would work too.
ReplyDelete